Projects/LED-Banner: verschil tussen versies
Uit Hackerspace Bitlair
< Projects
Geen bewerkingssamenvatting |
k fuck mediawiki |
||
| Regel 35: | Regel 35: | ||
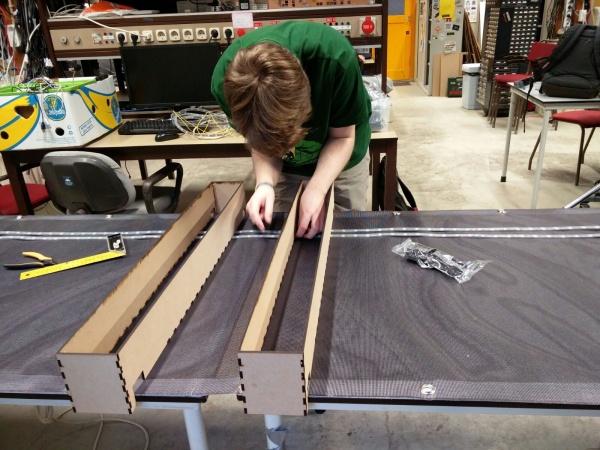
Polyfloyd and his DIY LED-strip straightener. | Polyfloyd and his DIY LED-strip straightener. | ||
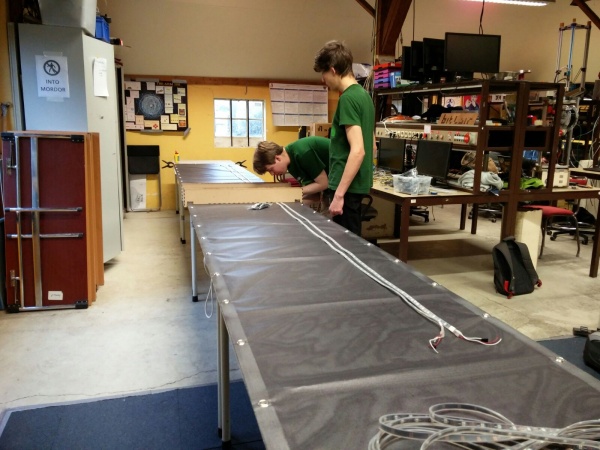
[[File:Bitbanner_aligning.jpg| | [[File:Bitbanner_aligning.jpg|600px]] [[File:Bitbanner_alinging2.jpg|600px]] | ||
Aligning the LED-strips. | Aligning the LED-strips. | ||
Versie van 7 feb 2016 16:09
| Project: LED-Banner | |
|---|---|
| Beschrijving | A LED-banner consisting of 16 5 meter long 30 LEDs/meter strips. |
| Start | 2015/03/13 |
| Contact | Bobo1on1, Mro, Rogue, X6m, Polyfloyd |
| Status | Production |
Bitlair's new incarnation of blinkenlights: the BitBanner. The BitBanner will consist of 16 5 meter long RGB LED-strips, with 30 pixels per meter. They'll need 5V about 120 Amps. To provide power 24 V power supplies will be used along with 32 step down converters (4 per PCB, designed and created by Bobo1on1).
TODO
- Create stepdown power converters done
- Cut holes in aluminium profile done
- Align and tiewrap LED-strips to cloth
- Roel designed and lasercut a custom 'straightener' to align.
Shoppinglist/BOI
- Drill holes in aluminium profile done
- Buy banner fabric done
- Buy 2000 cable ties done
- Buy wire for connecting led strips (1 mm2 red/black 32*1m?)
- Buy wire for supplying power to pcb's () (2.5 mm2 red/black 12m)
- Buy bold / nut 100 * 3mm 15mm + rings 200
POIDH
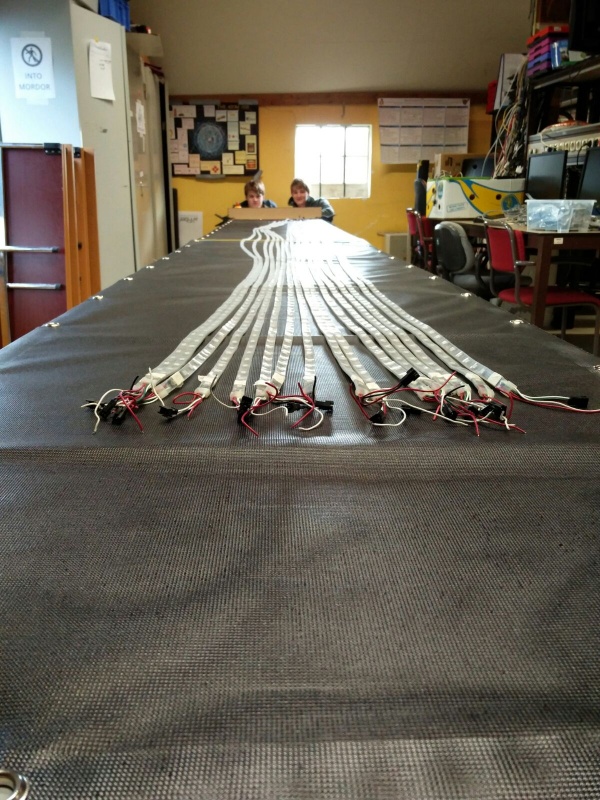
Sorting the LED-strips.
The BitBanner cloth.
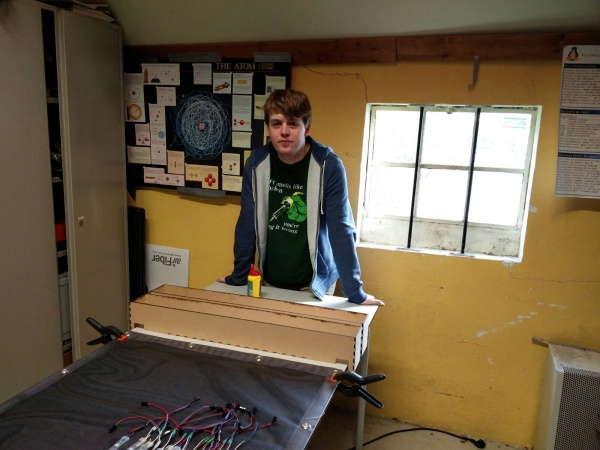
Polyfloyd and his DIY LED-strip straightener.
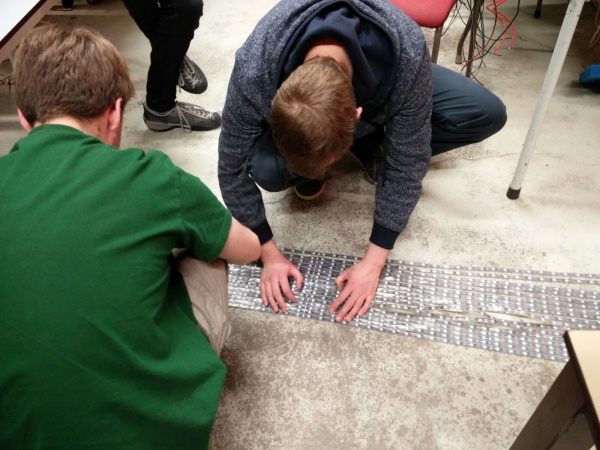
Aligning the LED-strips.
